MailerLite stands out from the crowd of newsletter tools because most features (including automations) are free for small communities. MailerLite is therefore perfect for newsletters/creators who are just starting out or are planning to build a community of < 1,000 people anyway.
The problem: The styling of MailerLite forms really leaves a lot to be desired and can massively reduce the conversion rate of people who see the signup form.
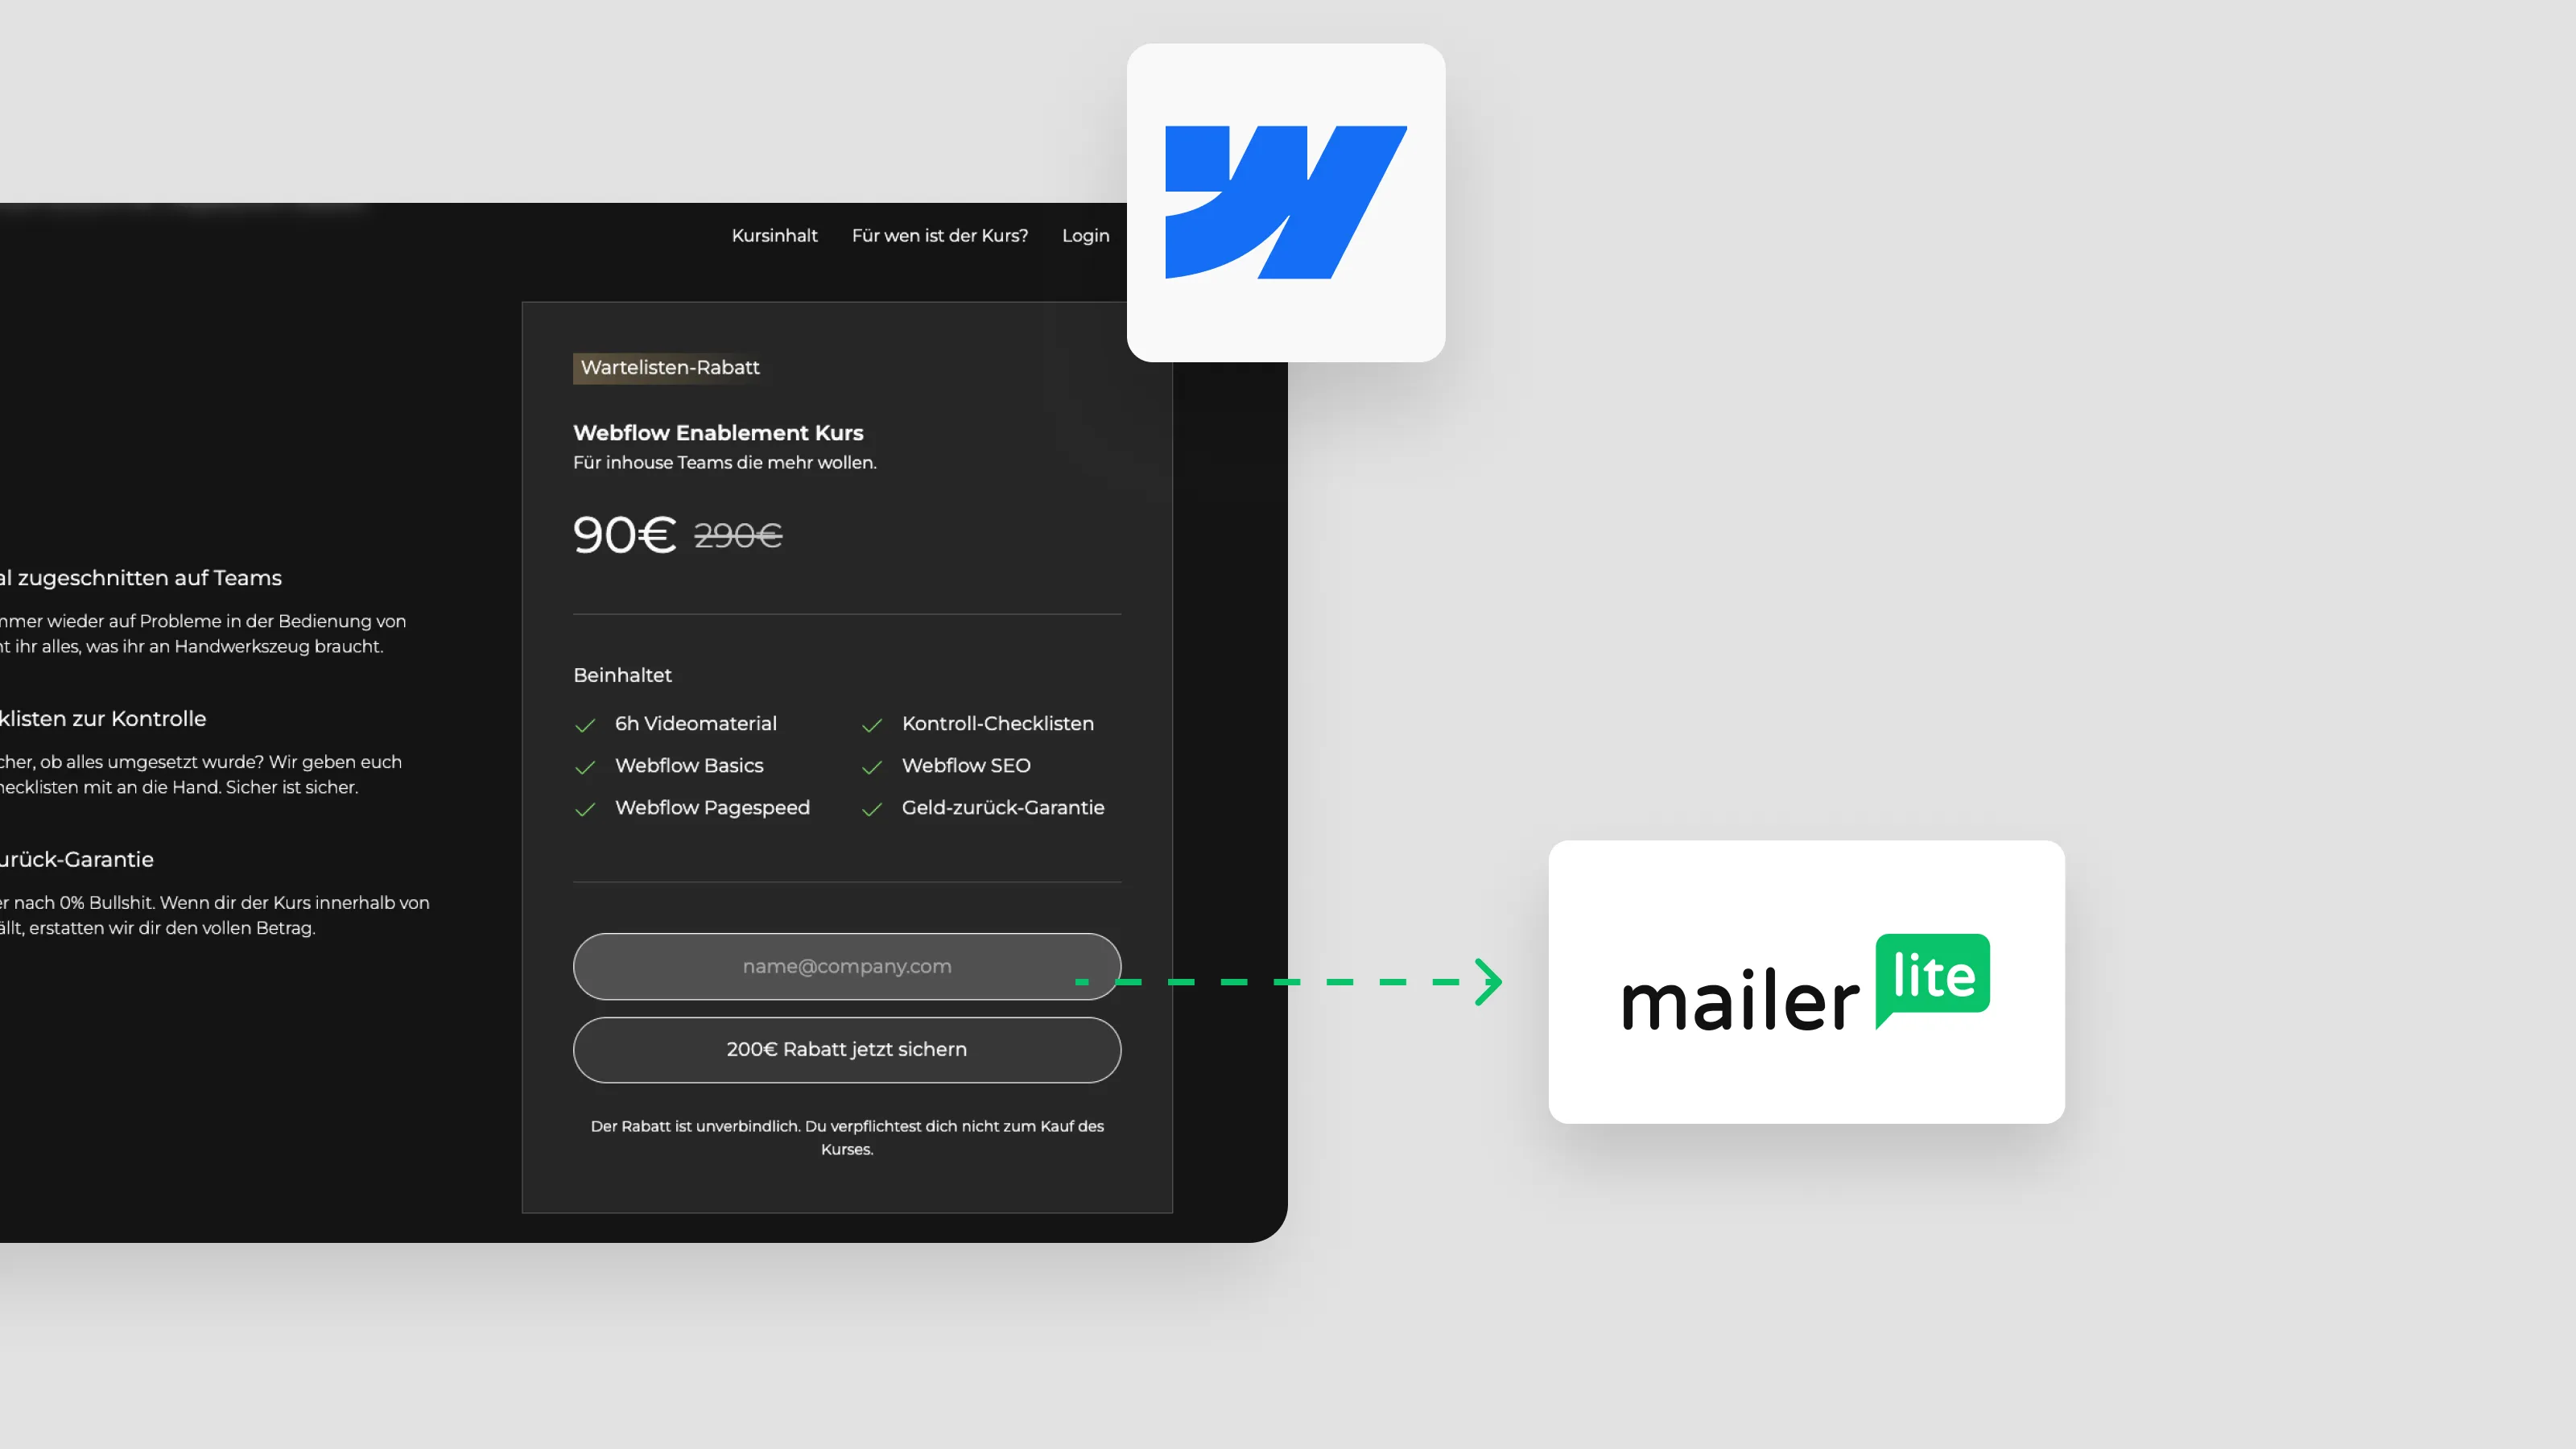
That's where Webflow forms come in. Because Webflow users know the feeling of designing a perfectly styled form on their site. A media break can therefore be easily avoided and your pixel-perfect webflow website does not have to be disfigured by an inappropriate form.
The sweet spot now lies, of course, in the combination of both worlds. Since Webflow doesn't offer any email marketing features and MailerLite Forms isn't as easy to style, in this post we'll show you how to Send Webflow Form submissions directly to MailerLite.
Connect a Webflow form to MailerLite in 5 steps
If you want to use your Webflow form to collect MailerLite contacts, all you have to do is follow these steps:
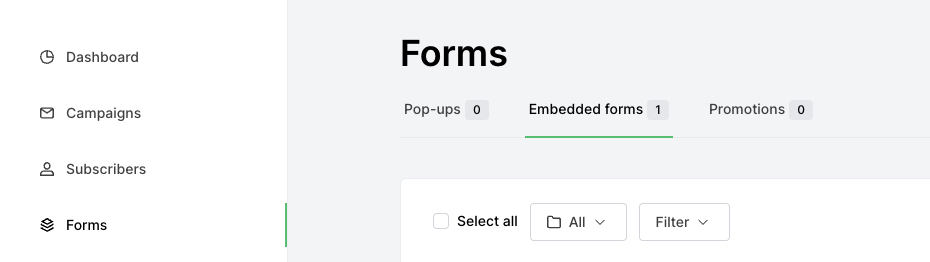
1. Create an “embedded form” in MailerLite
To receive form submissions in MailerLite, the first step is to create an embedded form in MailerLite. To do this, go to > Forms > Embedded Forms in your MailerLite account and create a new one.
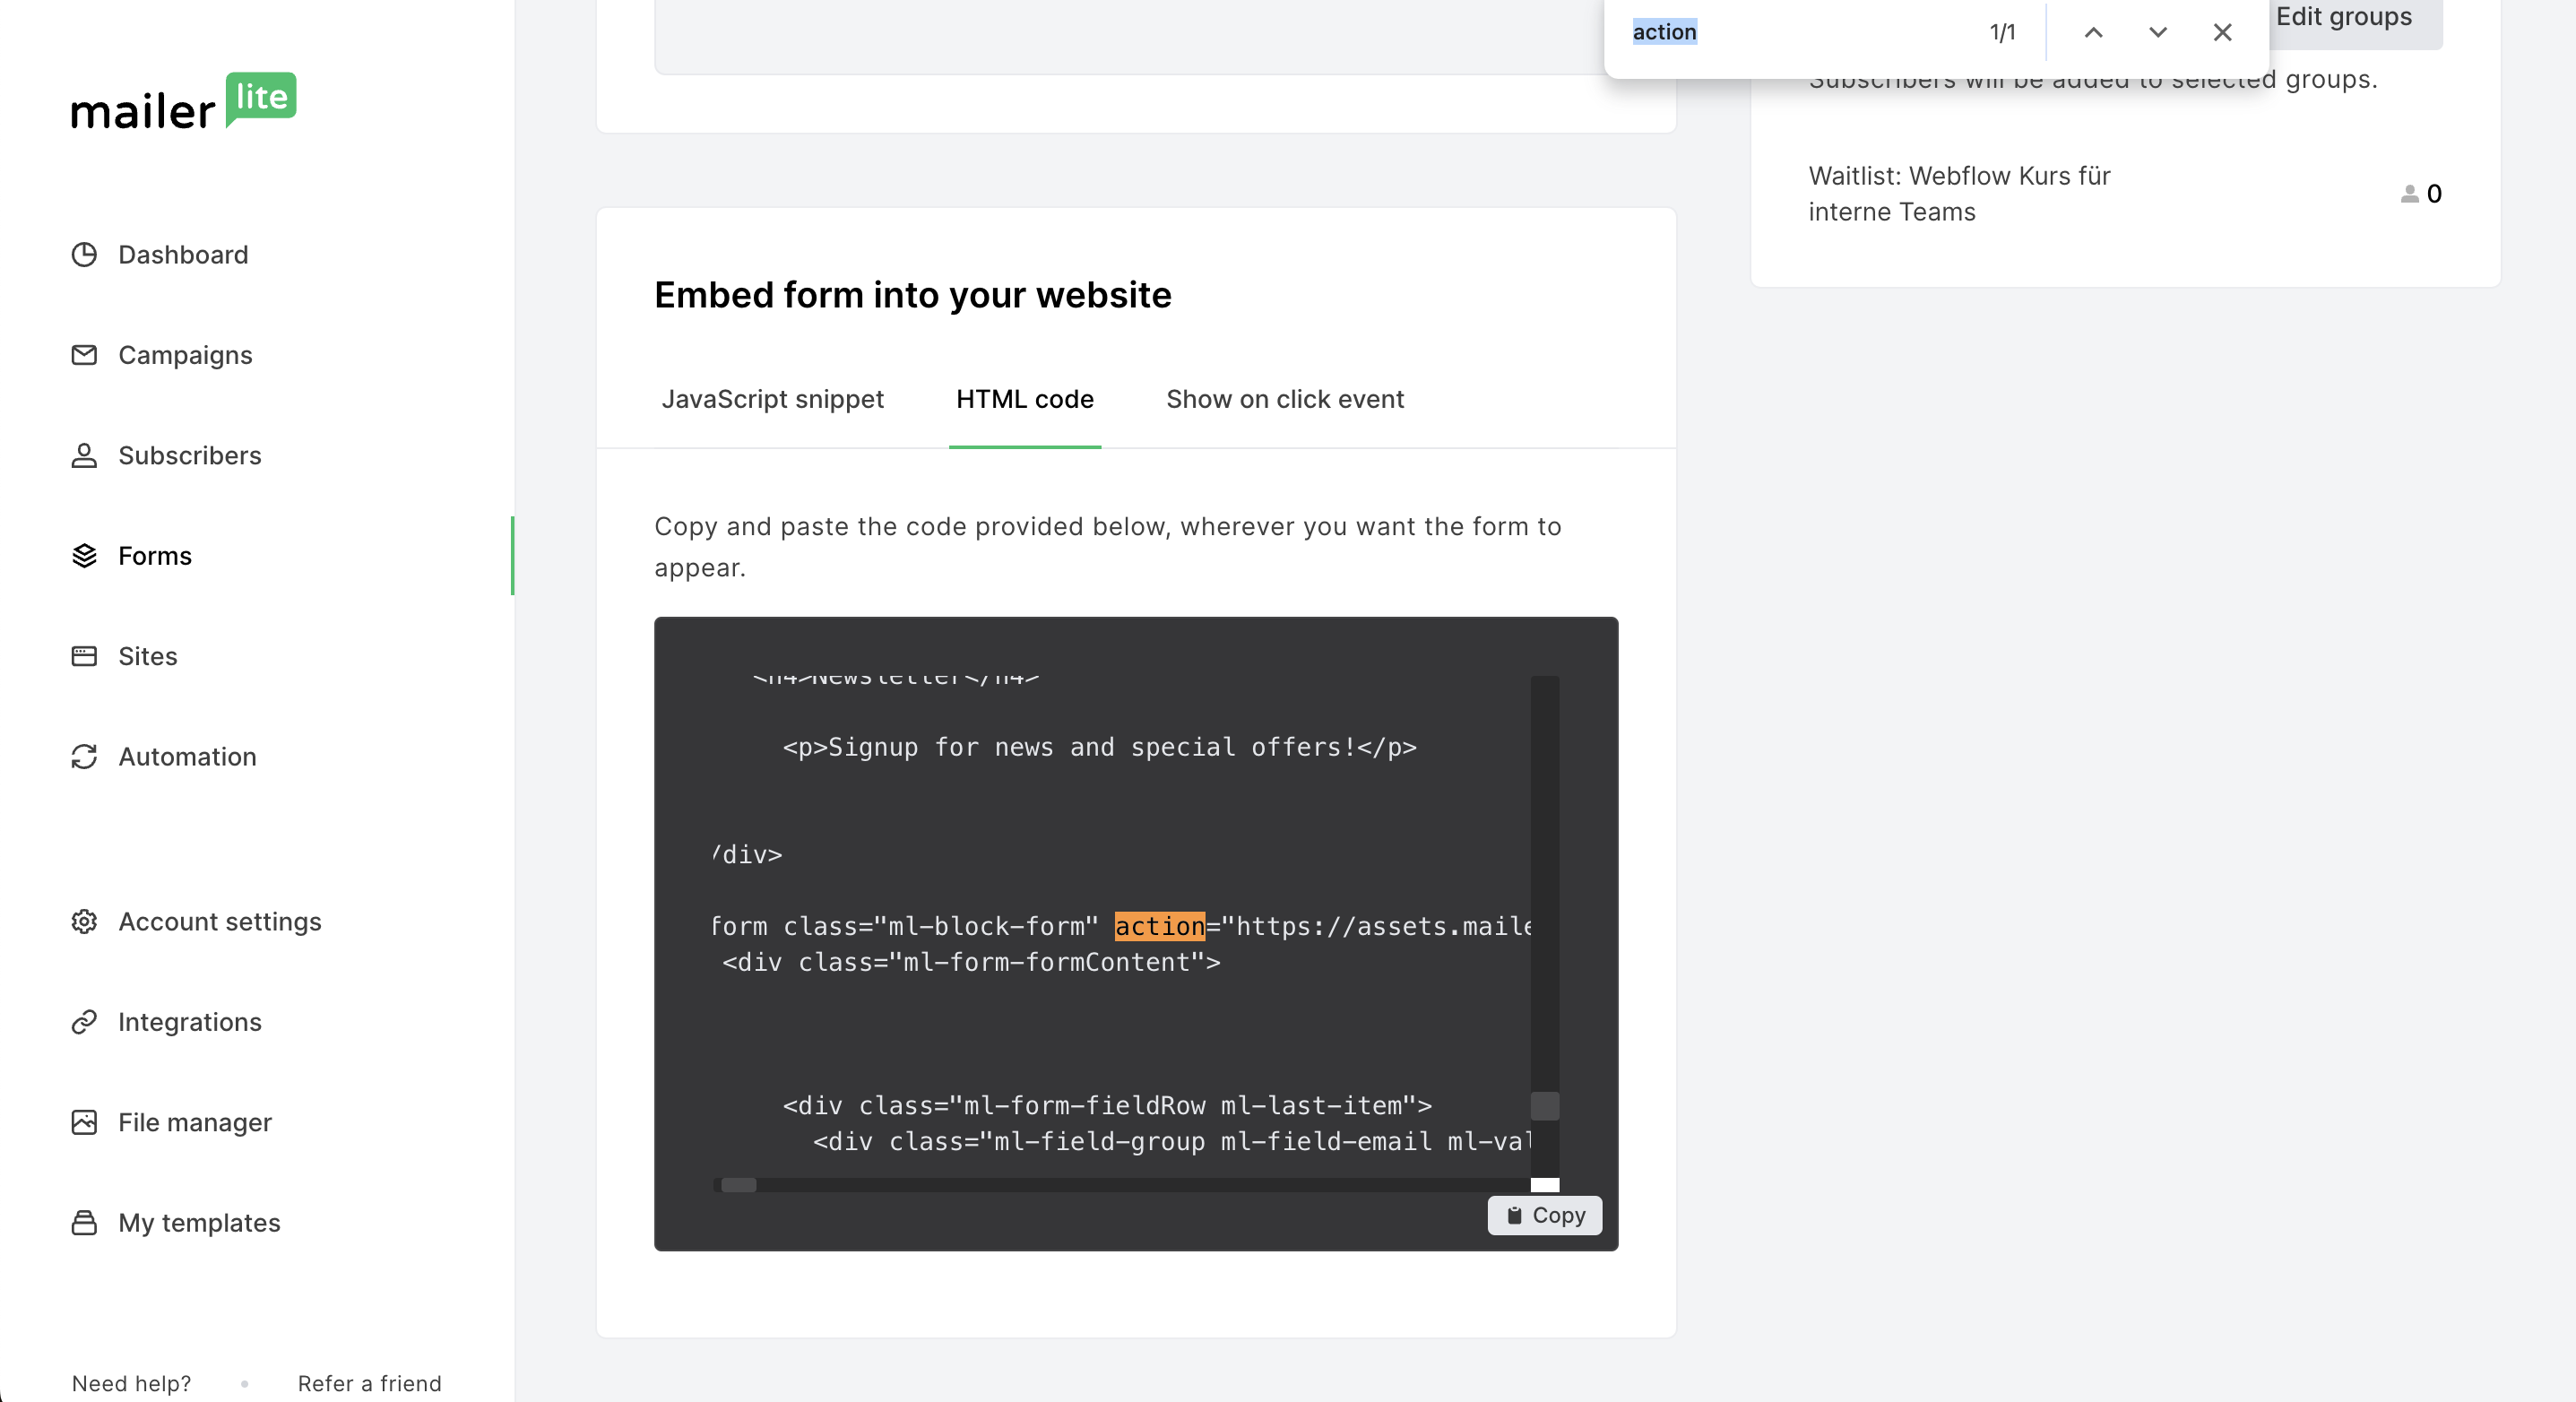
2. Search the form's HTML code
In the second step, navigate to “Embed form into your website” and open the tab with HTML code. Now you can use CMD+F to search for “Action.” You can now copy the URL that you find after the “action=”. Important: All you need is the URL, without the quotation marks at the beginning and at the end.
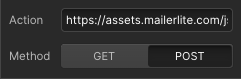
3. Change the form action
The next step is to change the action of the submit button on your Webflow form. To do this, navigate to your form in Webflow and open the form settings. Here you can find the field Action and right here you have to paste the action URL from the MailerLite embed code.
Now set the method of Get → Post because we don't want to receive any data with the form, but send it directly to MailerLite.
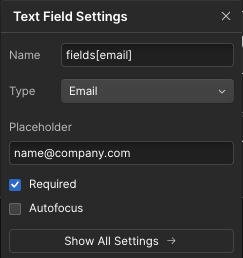
4. Customize the email address field
Next, you need to jump into the email field settings in your Webflow form and change the field Text field settings > Name into “fields [email]”. By default, the field is named “Email.” By making this change, you ensure that the email field exactly matches the form name in MailerLite. Just to be sure, also store “fields [email]” as the ID of the field.
If you publish the page now, you'll see that Form Submissions are successfully sent to MailerLite. However, after sending, an unpleasant “success screen” from MailerLite opens, which we of course want to avoid.
5. Use Finsweet Form Submissions Enhancer
To be able to use the success message you have defined or the redirect URL and avoid the unpleasant MailerLite success screen, you can use the free tool from Finsweet: https://finsweet.com/attributes/form-submit
This is super easy and quick to set up:
5.1 <head>Embed code
To use the Finsweet tool, you must follow the exact instructions in the Finsweet documentation on the page. The first step is to integrate the <script> into the <head> of the page where the form is embedded.

5.2 Set up custom attributes for your shape
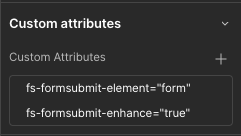
The second step is to set up 2 data attributes for your form in Webflow. To do this, select the Form Block or Form Div in Webflow and open the settings. At the very bottom, you'll find the Custom Attributes tab.
Create two attributes with the data:
- fs-formsubmit-element = “form”
- fs-formsubmit-element = “true”
After the next publishing, your form will now adopt the success message or redirection that you have configured in Webflow.