The time when you have to write text changes to your agency is over.
Most companies are aware of the following case: You want to quickly correct a spelling mistake that a teammate has noticed. The problem: You don't have access to the website because it was created by an agency and is also hosted by them. So the way is via a short email, which turns a matter of a few seconds into a task involving 5 people, 2 companies and 1 invoice.
Those days are gone with the Webflow Editor. With Webflow, it goes without saying that you can make changes to texts 100% yourself. But that's not all. With the editor, you can write blog posts, change SEO settings, correct or completely rewrite texts, change links and exchange images with one click.
However, so that you don't have to deal with the editor yourself via Learning by Doing, we have put together an overview of all features and tips for you below:
The features of the Webflow Editor in detail
Once logged into the Webflow Editor, you are automatically in editing mode on your website. You can also easily recognize this by the new “bar” at the bottom of the screen.
1. Edit texts directly on your website
Changing texts with the editor is the easiest thing in the world. To do this, simply click on a line of text that you want to edit and write the new text directly on the website. Happy? Just click “Publish” at the bottom right and watch your changes go live right away.

Note from the VE team: In addition to the publish button, Webflow shows you a summary of how many changes will go live with the next publishing.
2. Exchange pictures
Sharing pictures is also super easy. To do this, simply hover over an image and click on it. Your Explorer/Finder opens automatically and you can upload a new image.
Pro tip from the VE team: Always compress images before uploading. This is how you optimize your page speed and SEO.

3. Change links from buttons and the like
In addition to changing the texts in buttons and link blocks, you can also change the link destination. To do this, also hover over a button and click the gray cog icon, which appears at the top right.
4. Upload new CMS entries (such as blog posts and the like)
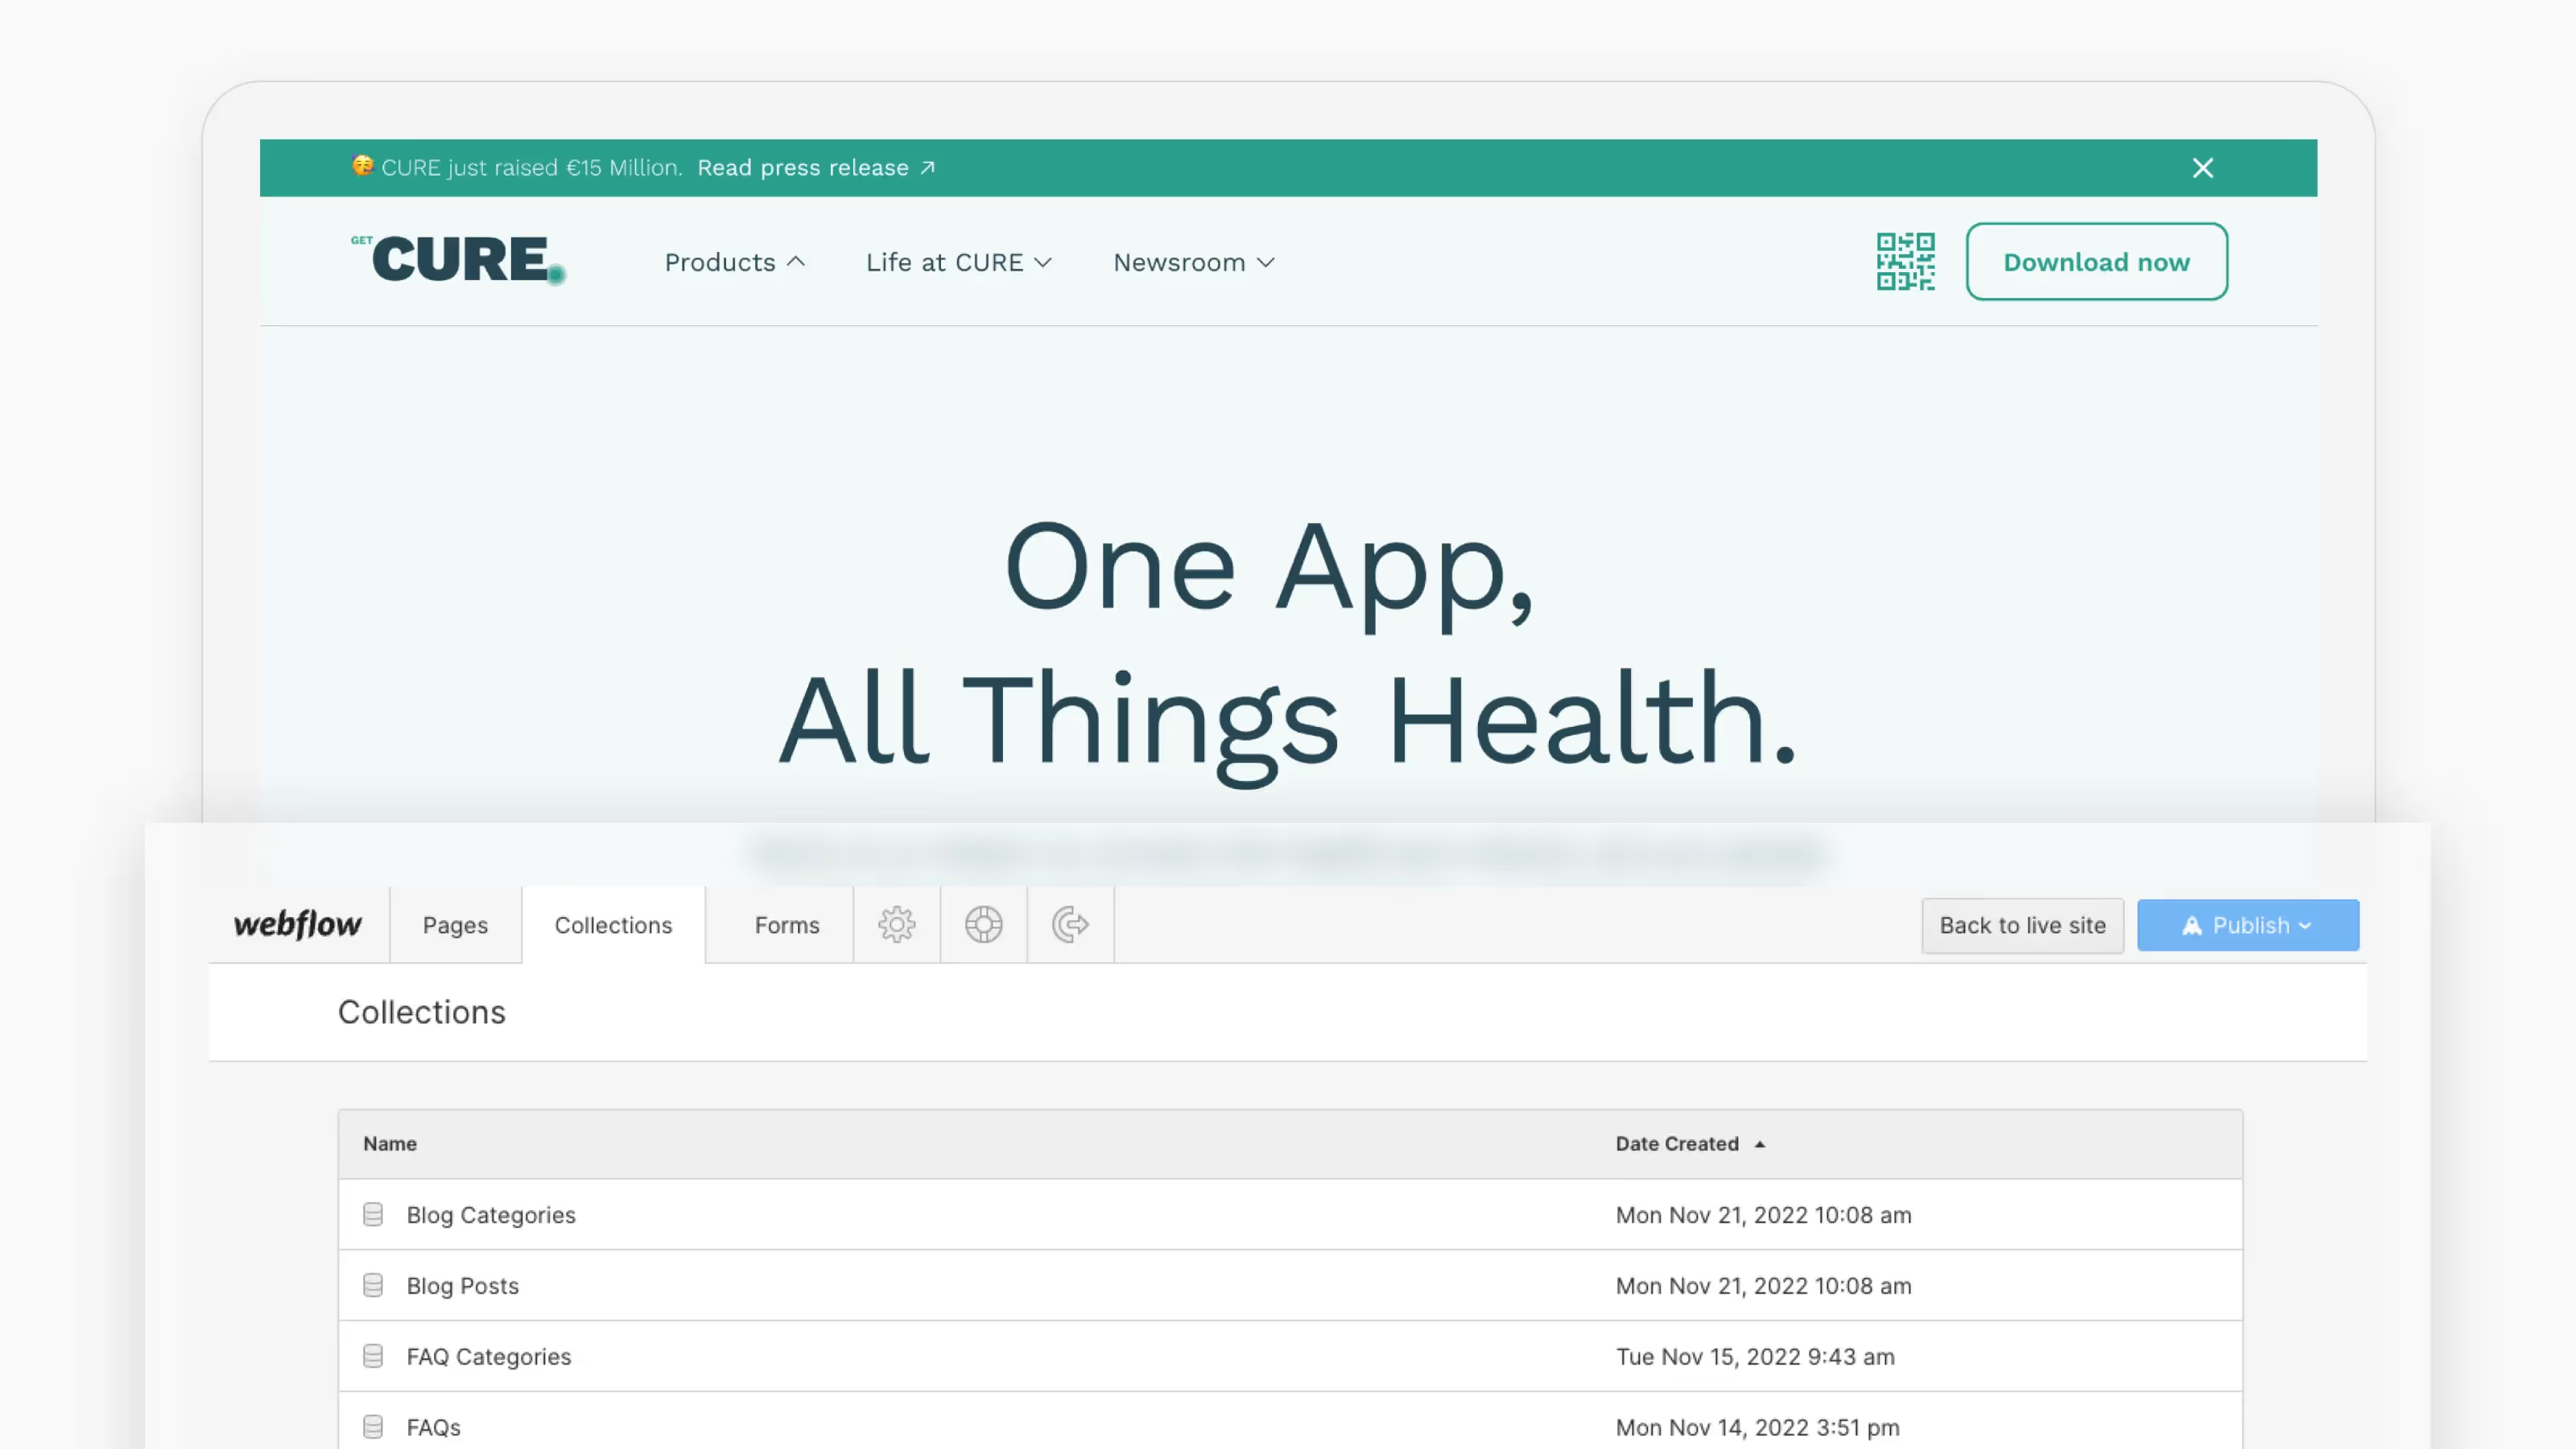
If your website contains dynamic content that is stored in so-called CMS collections, you can upload new content directly to the editor. Let's take our blog as an example. To upload a new post, navigate to Collections > Blog Posts and click on “New Blog Post”. A mask will immediately open where you can upload all the content of the post.
You can then also publish the new post directly via Publish. congratulations!

5. View form data
If your website contains one or more forms, you can also view submitted answers and inquiries directly in the Webflow Editor. To do this, navigate to the “Forms” tab.
6. Advanced: Edit your SEO and Open-Graph settings
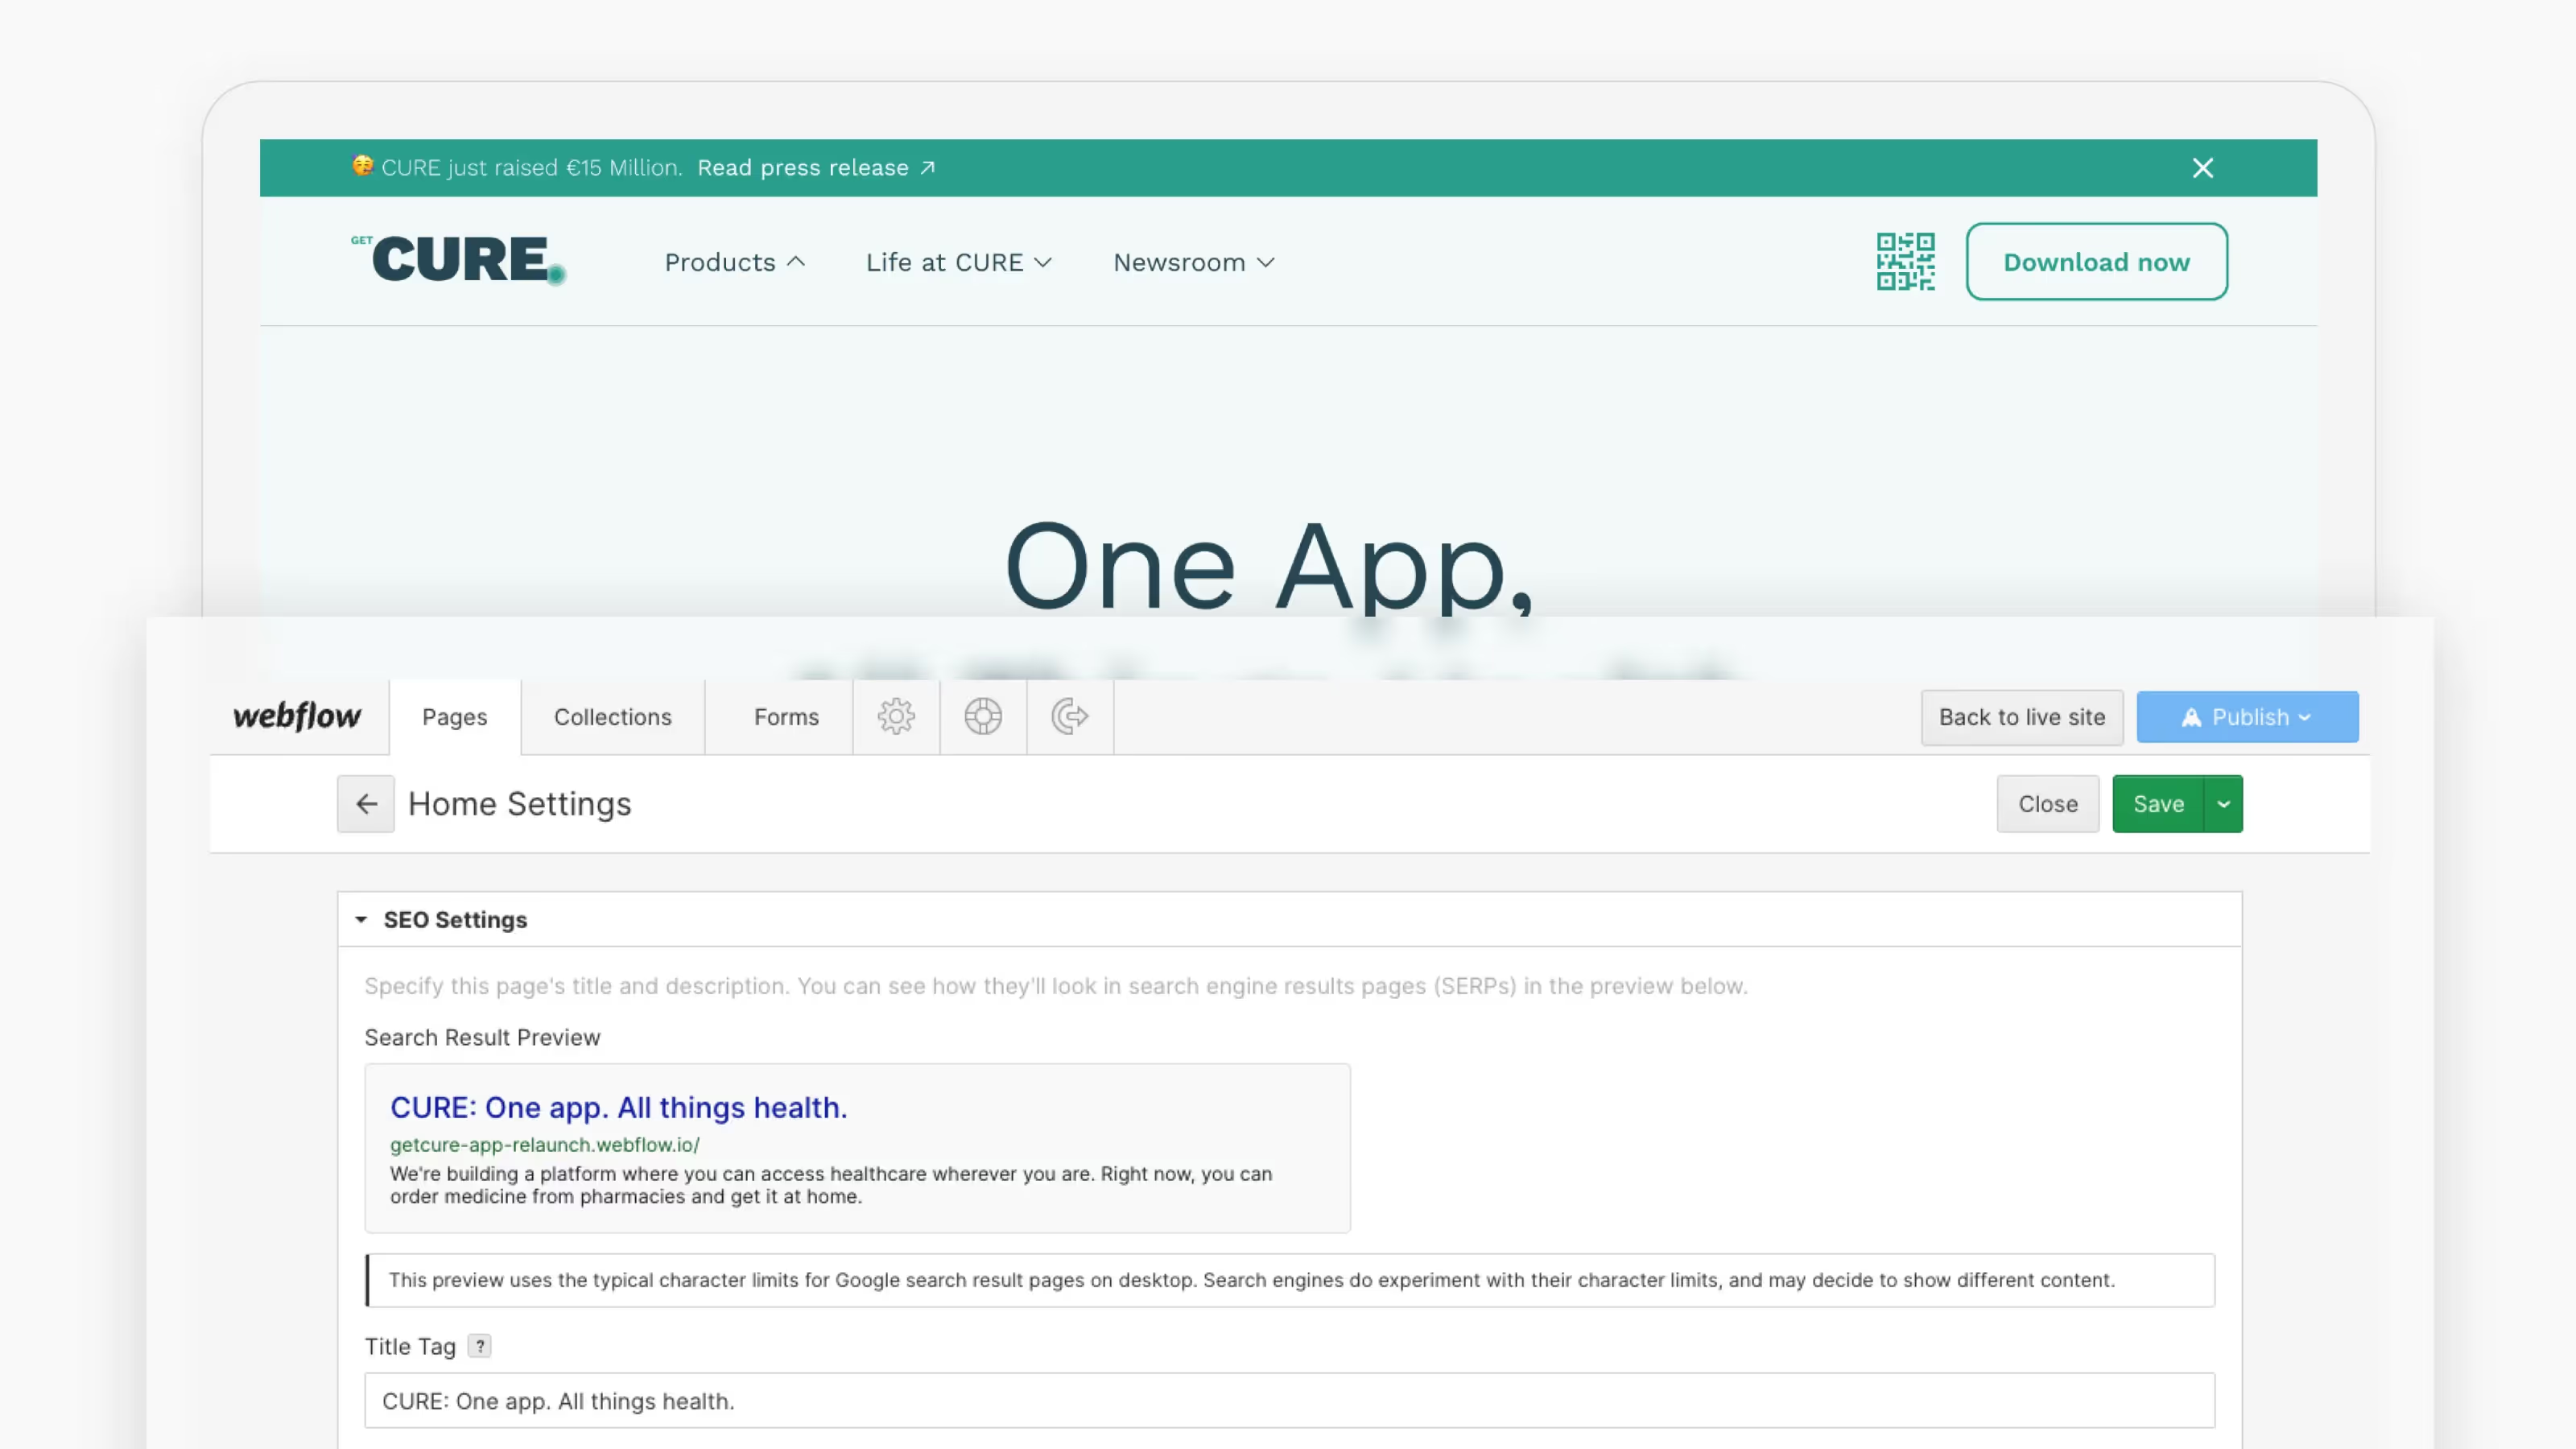
In addition to forms, collections, orders, etc. the footer of the Webflow Editor also contains the “Pages” tab. You can use this to navigate between the subpages of your website, but you can also directly edit the SEO and Open Graph settings of all pages.
To do this, click on Settings and you can directly edit the meta data: such as meta title and meta description of your pages.

Of course, should you ever reach the limits of the editor, you can of course contact your Webflow agency at any time. In particular, changes to the structure and layout of the website cannot be carried out with the editor. These are done with Webflow Designer, i.e. Webflow's comprehensive user interface.

