Anyone who uses Brevo knows how diverse the platform is for sending emails and many other functions. From simple newsletters to multi-layered automations, Brevo can cover a lot of the marketing mix.
However, the success of these campaigns often depends on how seamlessly they are integrated into the user journey. It is therefore not surprising that the styling of Brevo forms is sometimes criticized. Too few granular settings lead to a style break when you embed forms on your own website.
But we have brilliant news for you: When you use Webflow, you no longer have to spoil your perfectly styled website with Brevo forms. Both platforms can be seamlessly connected — without any additional tools. Use native Webflow Forms and send the data directly to a Brevo list.
What are the benefits of Webflow x Brevo
The obvious advantage of this method is freedom of design. Brevo is great, but the design of forms is definitely expandable. With Webflow, you can style forms granularly, but you don't have any additional email marketing features. By combining both tools, you can customize the visual appearance of your form exactly as you imagine for the campaign — without any compromises.
Connect a Webflow form to Brevo in 3 steps
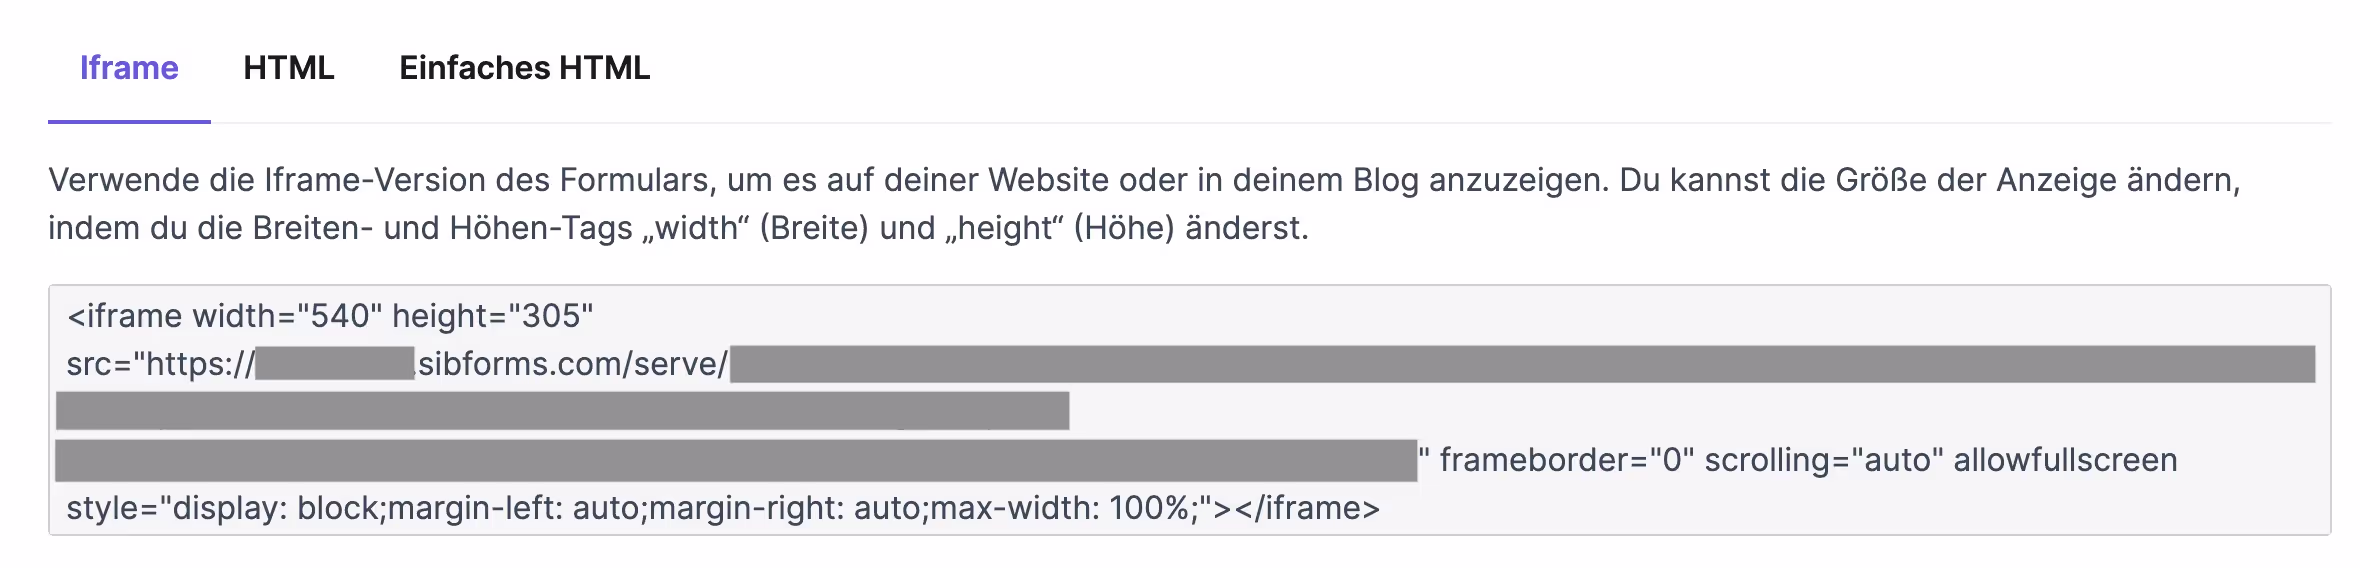
The easiest way to use Brevo on Webflow websites is to embed it as <iframes>you can get directly from your Brevo account. But if you want to use your Webflow form, all you have to do is follow these 3 steps:
1. Customize the email address field
First, you need to jump into the email field settings in your Webflow form and change the field Text field settings > Name into “EMAIL”. By default, the field is named “Email.” By making this change, you ensure that the email field exactly matches the form name in Brevo. As backup , also put “EMAIL” as the ID of the field.
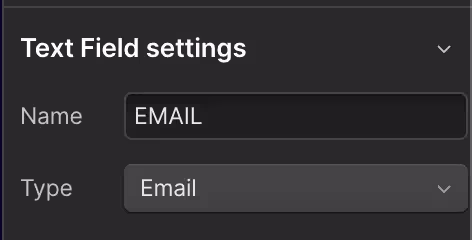
Repeat this step for all fields that you want your form to have.
2. Change the form action
In the second step, you must override the action of the submit button. You can do this easily in the Form Settings > Action. Insert the Brevo URL of your form here. It has the following formatting:
https://(account-number).sibforms.com/serve/(form-id)
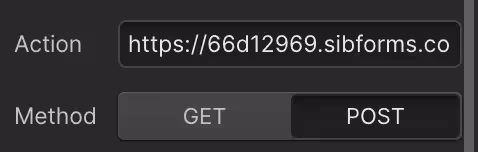
It is essential that you enter the correct action URL for your Brevo form here. Otherwise, form submissions are not transferred. You can find the form URL in your Brevo embed code here:
3. Change the form method from Get to Post
The last step is done with one click. Change the method from Get to Post in the form settings. Now you can publish and test your form. You should now be able to see form submissions in your Brevo lists and trigger automations in Brevo.
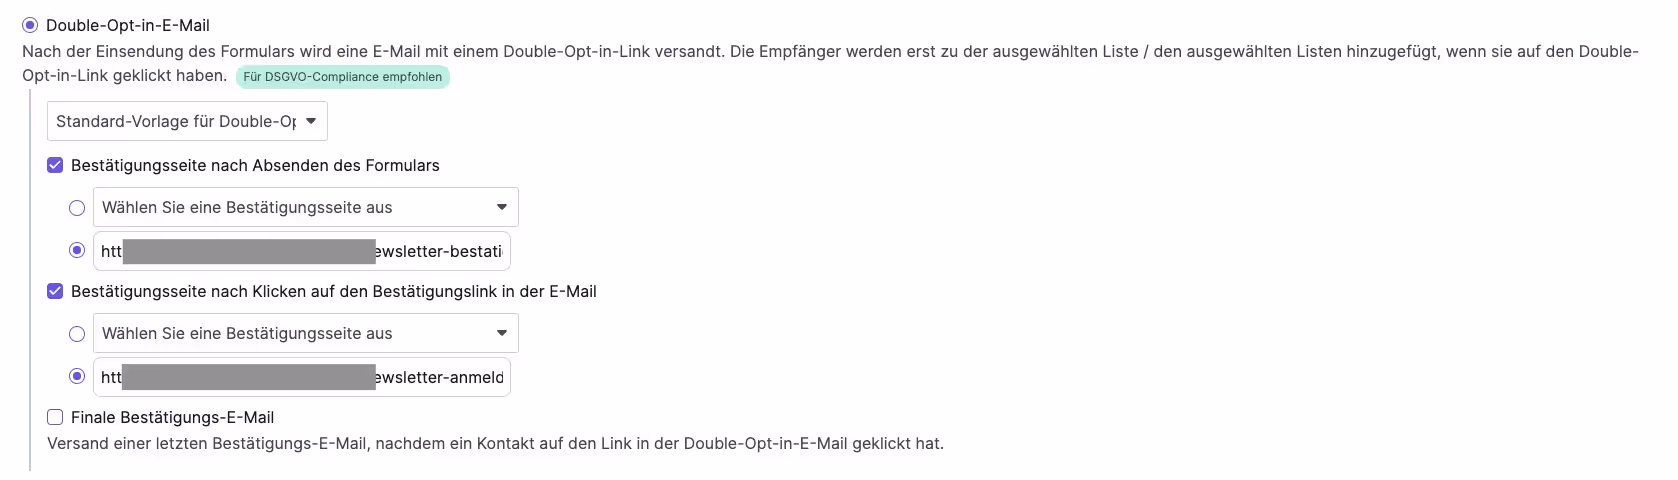
Now just set up a redirect in the Brevo form settings so that your subscribers don't end up on the unsightly success page that is displayed by default by Brevo.